The public events calendar pulls events directly from 25Live. To add an event to the calendar, the event must be created in 25Live with Public as the Event Type. Once the event has been confirmed, the event will appear on the public events calendar.
Login to Submit an EventThe following 25Live fields are pushed to the event calendar:
The Event Custom Attributes in 25Live, Event Image and Detail Image, can be used to add images to an event.
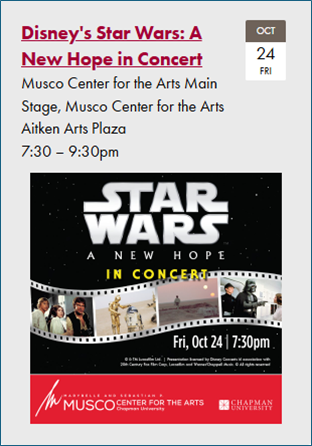
A thumbnail-sized image that appears at the bottom of each event listing; it also appears on the event description page if a Detail Image isn’t provided. Minimum size: 250x250px (images larger than 250px wide will be automatically resized).
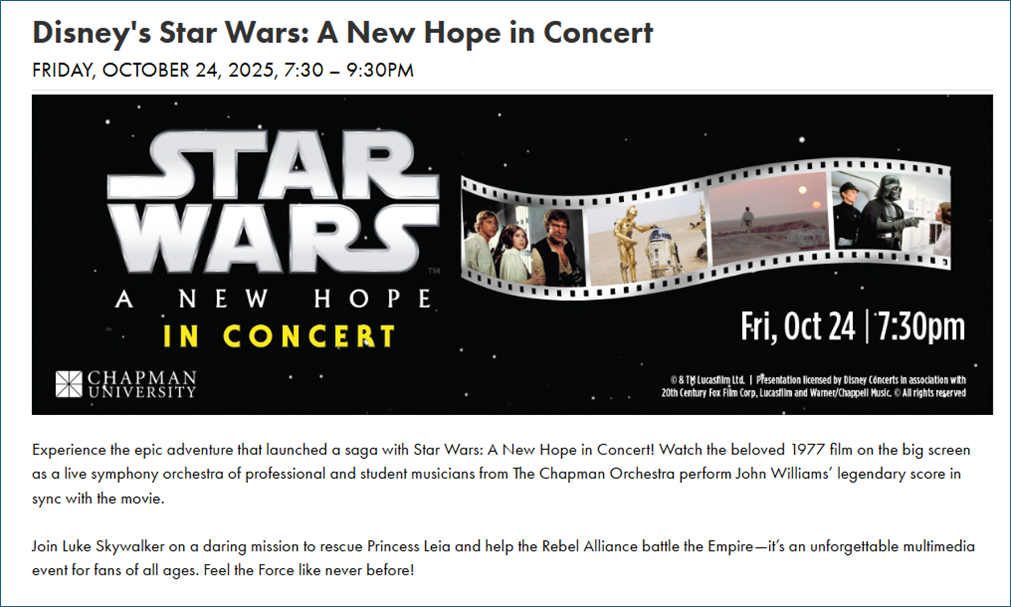
Larger-sized banner image that appears on the event description page. It overrides the Event Image on the event description page. Recommended size: 1200x400 (images larger than 400px high will be automatically resized).
On the 25Live event form, Event Type must be set as Public for the two image fields to appear on the event form.
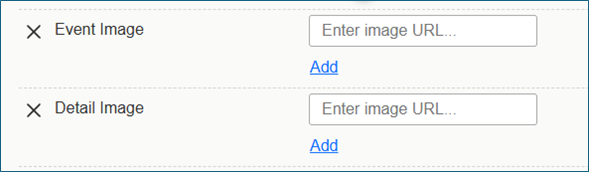
Click Add to upload an image or enter an image URL in the text box.
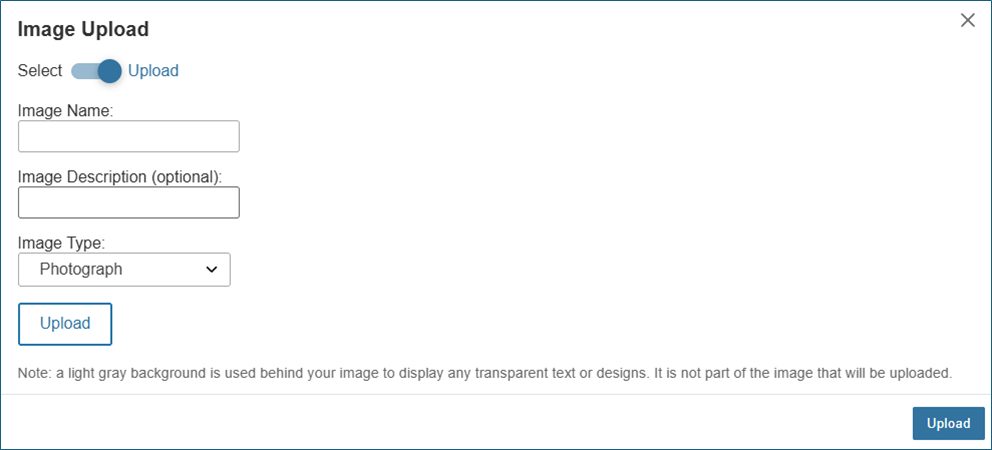
A pop-up window will appear, giving you the option to Upload an image or Select an image already uploaded to 25Live..
Set the toggle to Upload
Enter Image Name – recommended naming convention is event date (YYYY-MM-DD), event title, and the type of image (e.g., 2025-05-23 University Commencement event image; 2025-05-23 University Commencement detail image)
Add an Image Description (optional)
Image Type: Photograph
Click the white Upload button to select the image on your computer to upload. A preview of the image will appear.
Click the blue Upload button to upload the image.
Note: 25Live allows duplicate Image Names; using the naming convention for Image Name will help prevent duplicates and make it easier to identify images.
Set the toggle to Select and click the image name to see a preview of the image.
Click Select to add the image.

To edit events on the event calendar, the changes must be made in 25Live. Changes cannot be made on events.chapman.edu.
Note: If you want to replace an existing Event Image or Detail Image, the filename must be updated as well. If the existing and new filenames are the same, the calendar will not detect a change, and the image will not be updated.
It can take up to 10 minutes for the changes made in 25Live to appear on the calendar.
Login to Submit an Event